The 14 foot plank of yellow cedar that I collected from Stones Timber, in Salcombe, was to used for the rudder blade and centreboard. I had plans for a natural wood finish for the transom and also the rudder blade and case.
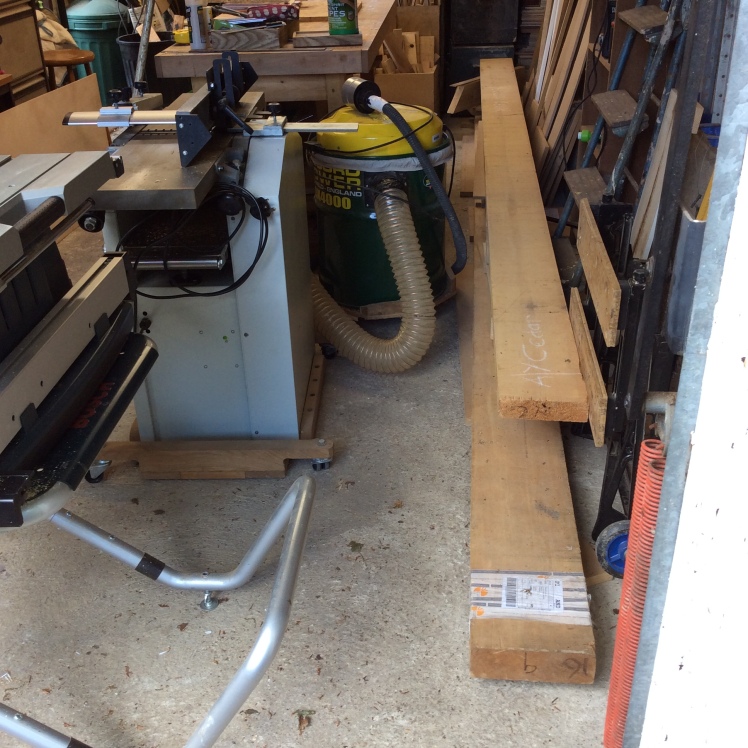
The first job was to prepare the stock to an appropriate thickness. The quality of the wood was again superb and needed very little planing to produce a square face and edge.


I used a circular saw to cut the plank into two pieces one for the rudder and the other for the centreboard. The rudder blanks were then ripped to an equal width n the table saw.


The bandsaw was used to resaw the shorter plank into two pieces which went back to the planer thicknesser to square and reduce to the rudder thickness. These were then butt joined with epoxy.

A grid was then drawn and the rudder blade pattern was copied from the plans with the help of curves and a compass.


This was cut out with the band saw and sanded to final shape using a bobbin sander and then flattened with the jack plan and cabinet scraper.


The rudder bolt was 9mm but the hole needed to be drilled oversized with a step down on both sides before filling with epoxy.


Shaping the curved leading and trailing edges was completed in the same way as the oar blades and centreboard which relies on planing along a series of pencilled lines drawn parallel to the edges. Once again the spokeshave proved most helpful here.
The filler piece was cut from the same thickness yellow cedar and the cheeks came from the half size sheet of 12 mm super elite plus marine ply from Robbins in Bristol, that I had chosen for the transom.
The rudder blade filler piece and internal surface of the cheeks all had to be sheathed with a layer of 200gsm glass cloth, which I purchased from West System Epoxy, a world renowned company that just happens to have it’s manufacturing headquarters just 15 miles from where I live.
I chose to use the “dry method” for sheathing and tried to apply three coats of epoxy during the day, waiting for each to become tacky before applying the next coat, typically 6-8 hours. When It wasn’t possible to get the third coat on I waited overnight and carefully sanded with 80 grit to roughen the surface.

I chose West epoxy with a special 207 hardener, which is a 3:1 mix and said to cause less issues with amine blush, and to cure with a more transparent finish compared with the yellowing seen with other hardeners. This certainly proved the case and had minimal effect on the natural look of the yellow cedar.


Before the rudder case was assembled the inner surface part of of the cheek which comes in contact with the moving rudder blade was coated with epoxy mixed with a graphite filler along with the corresponding piece of the blade. I am not sure whether this is going to be helpful or not but the graphite may offer a little more protection for the rubbing surfaces.
The outer surfaces were given three coats of Epoxy again using the 207 hardener to help retained the natural finish and reduce amine blush
Next the two veneered ply cheeks were epoxied to the filler piece. I had already filled a 12mm hole with epoxy where the 9mm bronze rudder bolt was going.


A method of attaching uphaul and downhaul ropes needs to be worked out as well as making the gudgeons and pintails. All that will remain after this is fashioning he tiller and applying 3 coats of 2 pack polyurethane varnish.

Hello there, Jonathan. My name is Tim Marpe, and I live in the US in the state of Minnesota. I was poking around for some info in the Phoenix III rudder and tiller design and came across your posts. I am nearing the end of my Phoenix III build; I’ve been at it for about 2 1/2 years in my spare time. I too am a first time boatbuilder. It’s very interesting to see what you’ve started here and very helpful to me today! I wish you the best of luck in your build – I’ll be following along! I’d certainly be open to corresponding regarding our projects and would be happy to share any pictures and information from my own experience.
Someone told me the hardest step in building a boat is this: starting. It looks to me like you will be a very successful builder from what you have posted thus far.
Thanks again!
Tim
tim.marpe@gmail.com
LikeLike
Hi Tim it’s good to hear from a fellow Phoenix III builder. Thanks for you comments. I am now about 15 months into my build and hopelessly behind on the blog. I am at the planking stage and have finished the first 4 planks.
I have been using Ross,s boat idling site on Facebook which has been very helpful, I assume you have seen that. I would love to see photos of your build and would be very happy to help in anyway. Keep in touch.
LikeLike
Jonathan – wow – you’re making good progress. 2 more planks to go. Will you be celebrating the shutter plank (or “whiskey” plank)? One of the unique challenges to this kind of project is the continual progression from unfamiliar to familiar and back to unfamiliar and so on. By now you’re getting good at planking but soon you’ll be scratching your head about the next step.
You mentioned Ross’ Facebook page; I’m not a Facebook user so I’m not familiar with the page. He has been very helpful and available when I’ve emailed him with questions. My main resources beyond the plan book are John Brooks and Ruth Ann Hills book “How to Build Glued Lapstrake Boats” and Iain Oughtred’s “Clinker Plywood Boatbuilding Manual”. Perhaps you are using them too.
I’m not sure how to send pictures through WordPress comments; if you want to send me your email address I can share those directly.
Good to hear from you!
Tim
>
LikeLike